
For all those brides that have bought clip-in hair pieces for their wedding events and now don’t know what to do with them – this one is for you! The clip-in hair pieces (also called wefts and weaves – these are long curtains of hair) are usually used for adding length and/or thickness to your hair when doing either all down or half up half down hairstyles. The pieces of hair are cut to various width sizes to fit different parts of the head, the shortest pieces which have either one or two clips are for the nape of the neck where the width of the natural hair on the scalp is shortest, you then work your way up the back of the head from here using larger pieces as you go.
If you are wearing your hair all down then you usually stop around ear level (top of the ear) so that there is enough natural hair to cover and conceal the stitching on the wefts, if your hair is quite fine or you are wearing it part up then finish off around the middle of the ear level to ensure that the wefts are still able to be concealed when a layer of your natural hair is placed on top. You can also add the clip-in wefts to your hair if you are putting it all up but it may be a bit trickier for you to conceal the pieces and how you attach them will vary depending on the style you are doing. So here is a simple step by step on how to attach the hair pieces when wearing your hair down:
Start by either straightening or curling your hair and hair pieces before you attach them to your hair, this is not only easier but will also save you pulling on the hair once the wefts have been attached which risks them becoming loose.

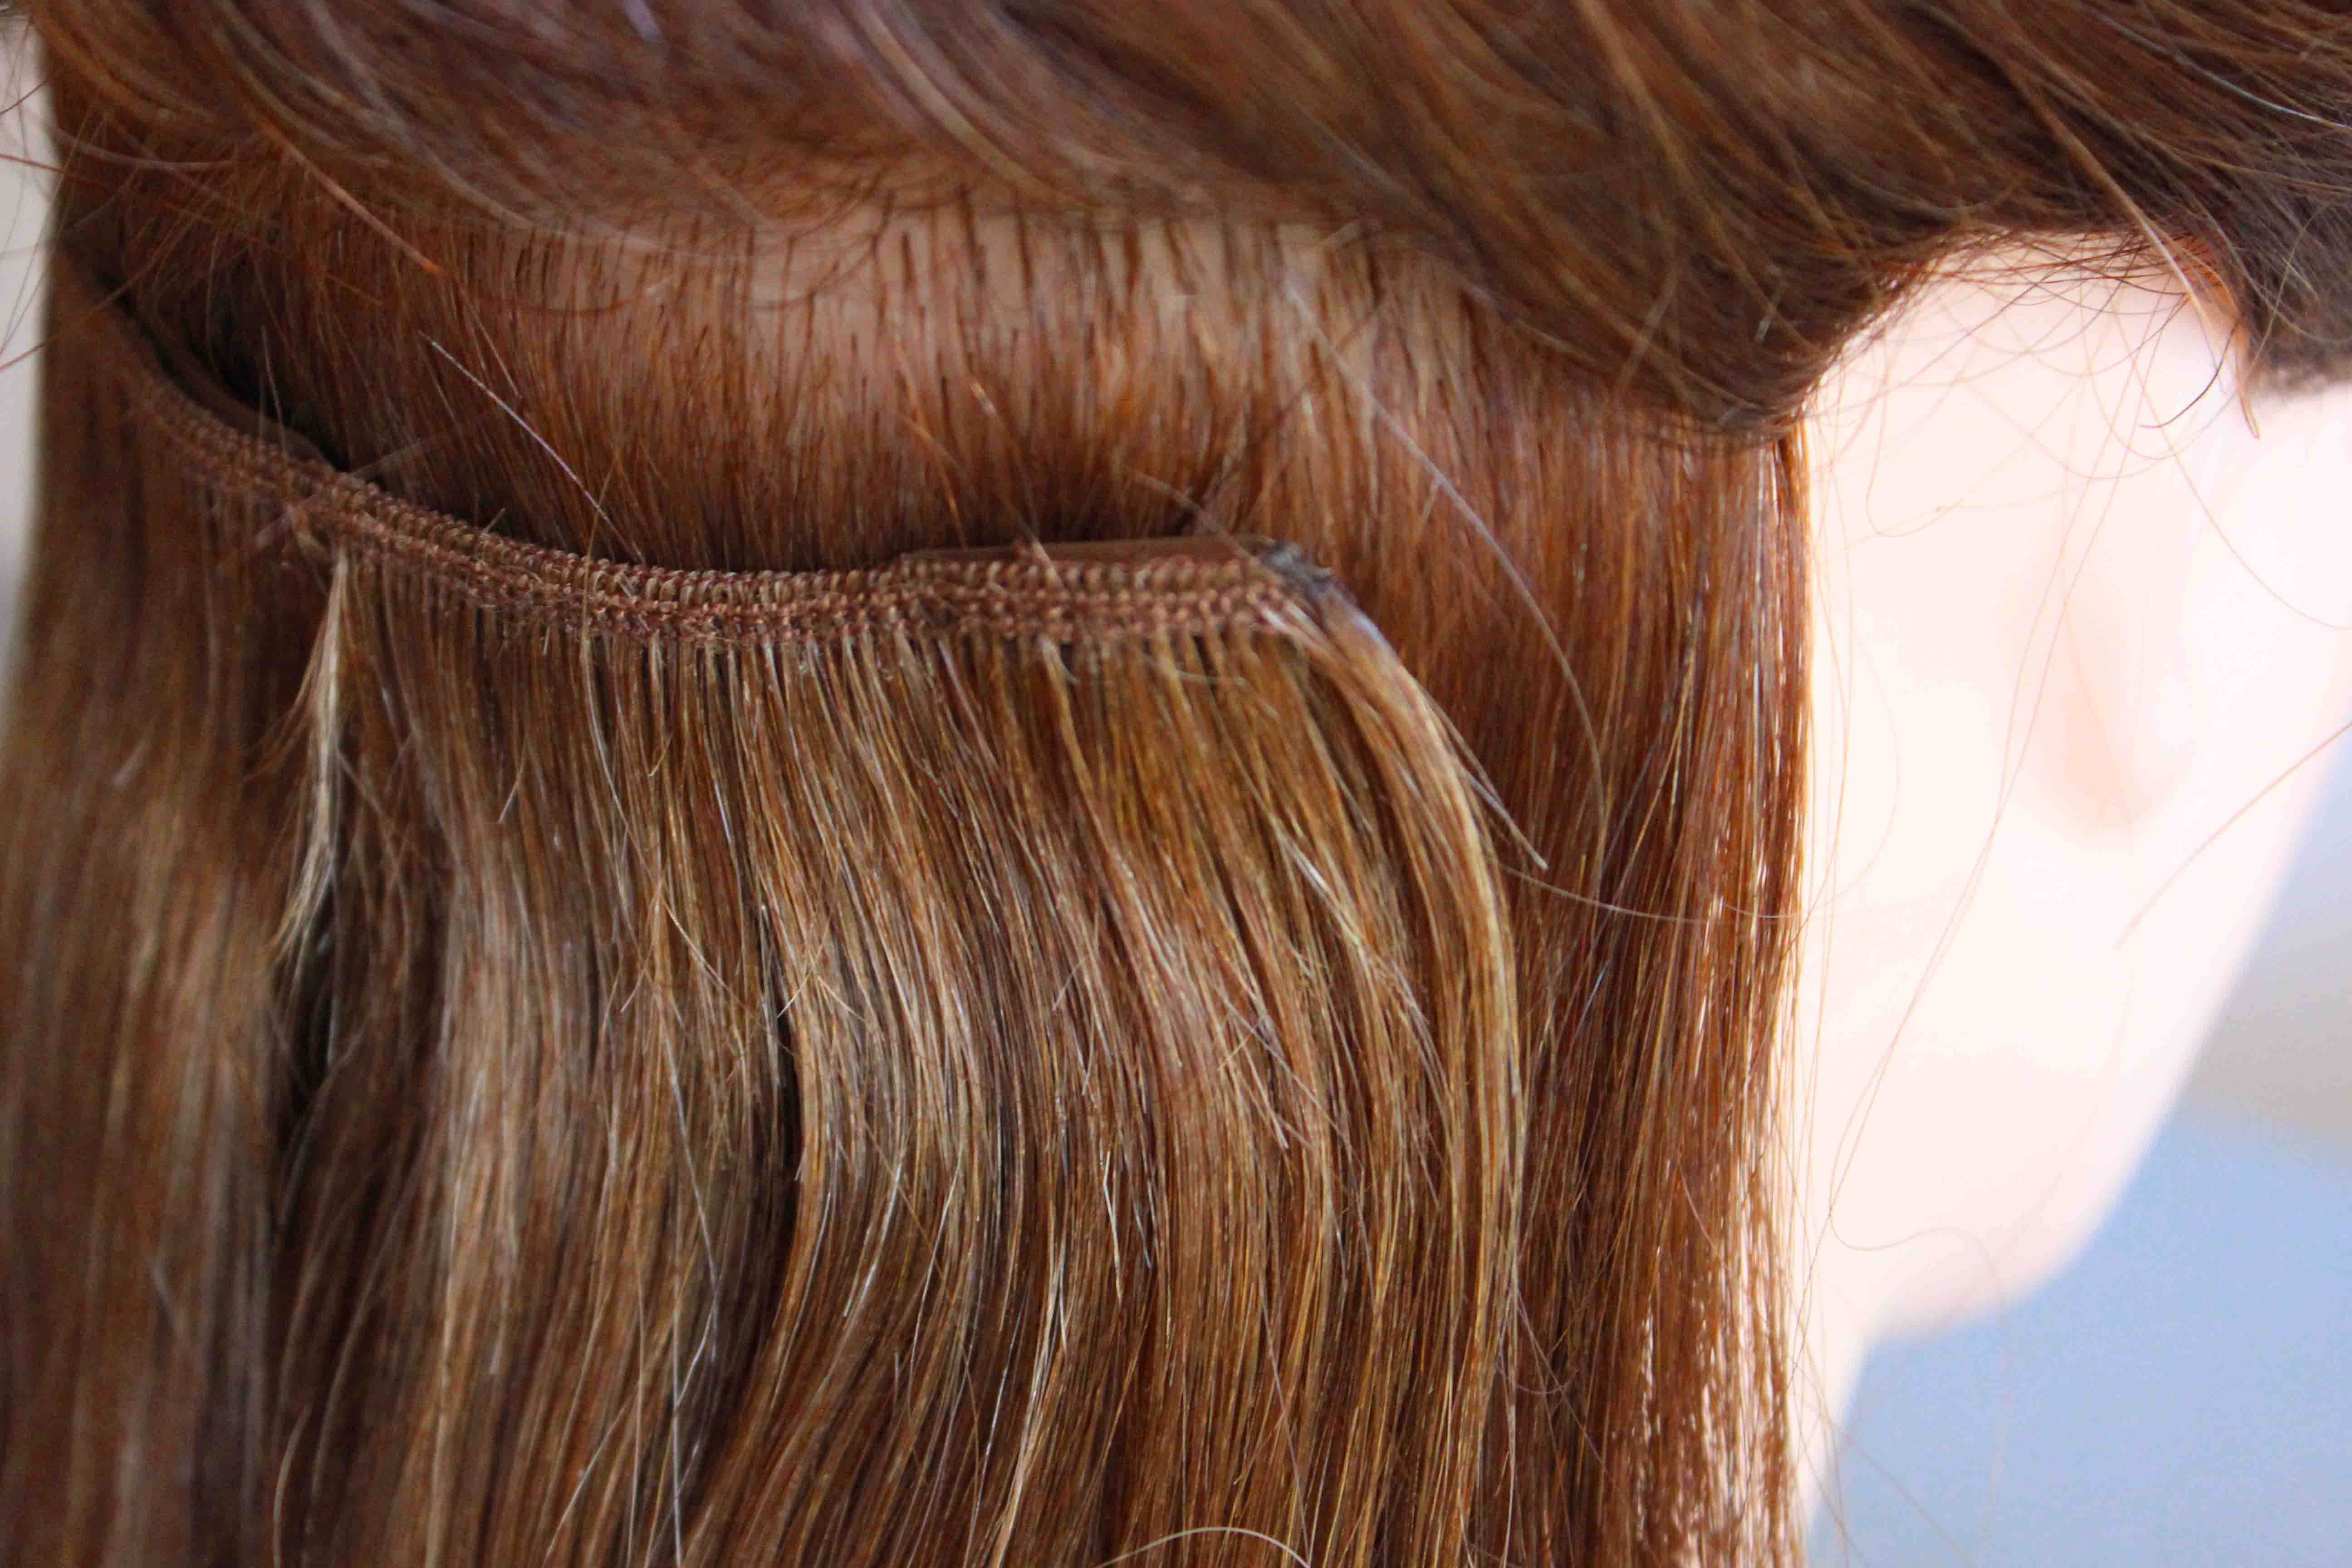
1. Holding all of your hair in one hand draw a horizontal line along the nape of the neck with your finger or a comb to roughly separate 1-.5 inches of hair (for thinner hair take slightly larger sections so you don’t risk the clips sliding down the hair). Pin up the hair that you are holding in your hand and backcomb the roots of the sectioned off hair to create a knotted rough texture. This is what the clips on your hair piece will grip into which will help to prevent them from sliding down your hair throughout the day, this extra step makes them more secure than simply just clipping them in. Take the smallest size weft piece (one or two clips) and attach it to the backcombed area at the roots.
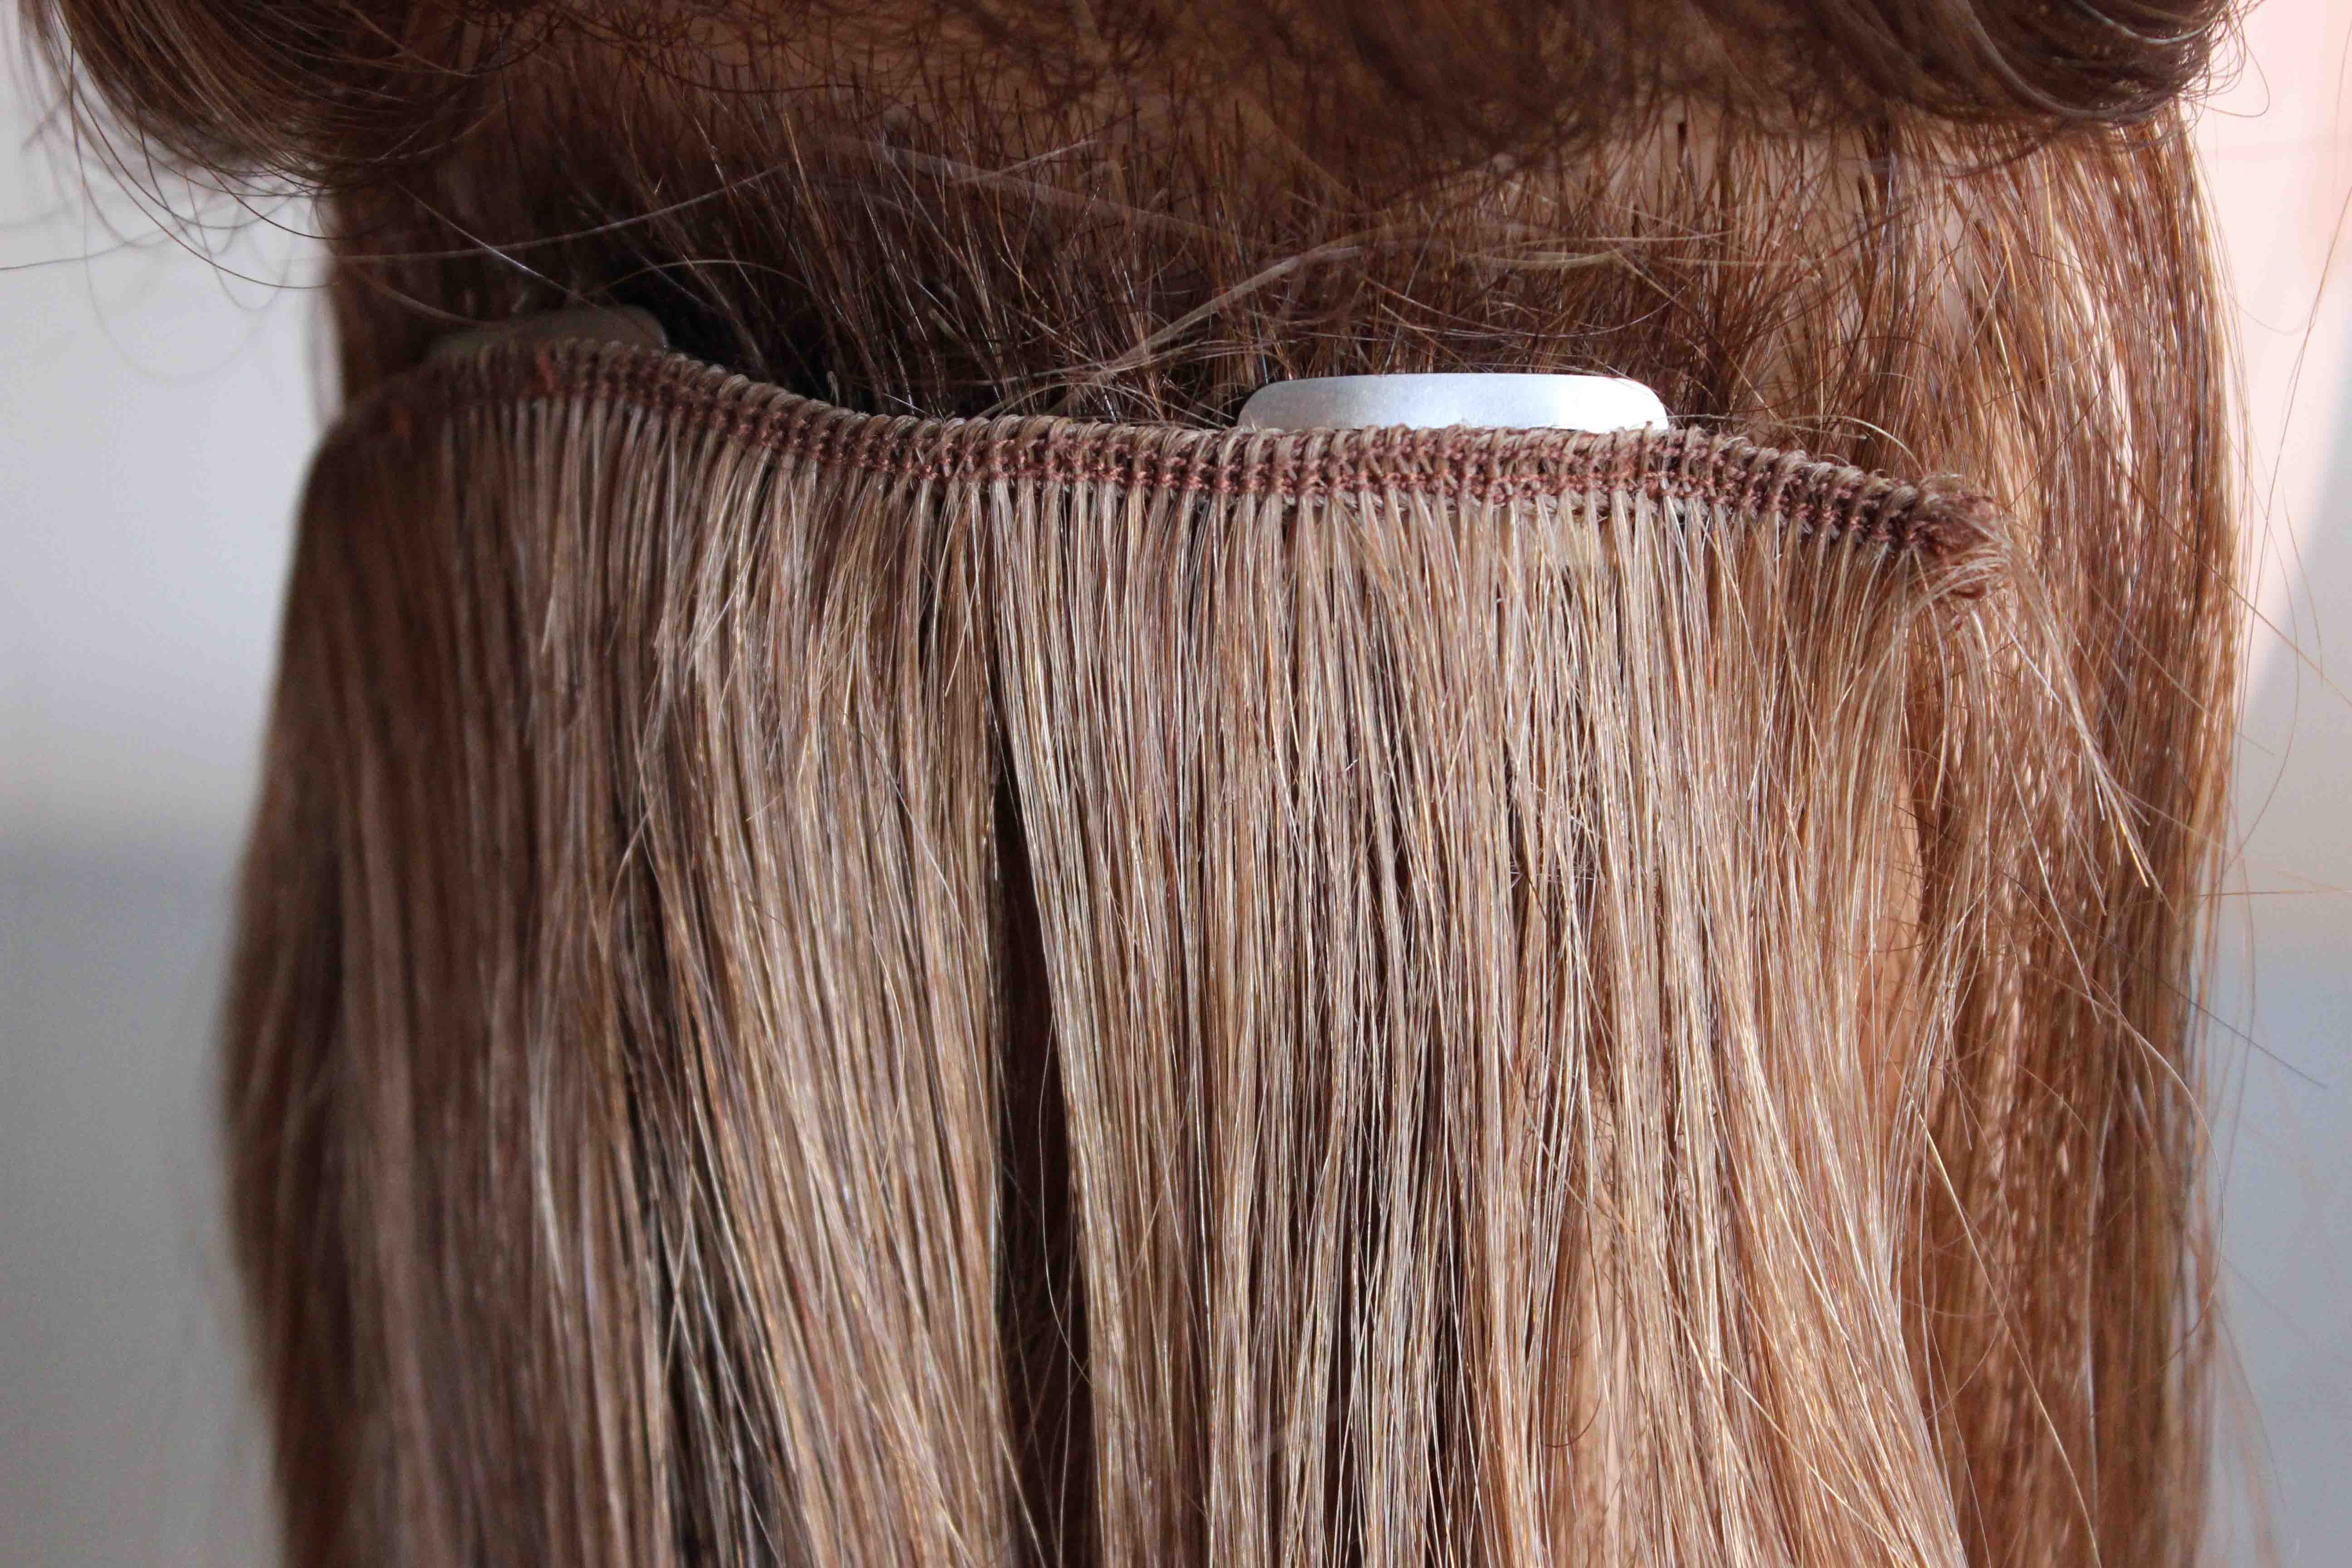
2. Next take the same size horizontal section and repeat the process working your way up the back of the head and taking the next sized hair piece that fits within the vertical width. When attaching the different sized pieces make sure you leave a gap of hair on either side of the weft pieces so they don’t poke out at the edges, use a hair grip to slightly fold and pin the weft (in the middle area) if you need to make it a bit smaller because sometimes they are a bit too wide for the size of the head. Stop as you start to reach the top of the ears so you have half of your natural hair left to cover all the wefts underneath.
Usually a full pack of hair wefts (8-10 pieces) is enough to reach the top of the ears and give you enough thickness. In some cases I’ve had brides that want the hair to look more natural and only want to add in half of the pack, so if you feel your hair is starting to look too unnatural or bushy with all of the hair then bear in mind that you don’t need to use all of them. On other occasions I’ve had brides that have wanted a bit more of a fuller look (especially if half of their hair is being put up) so for these types of looks you can double clip each layer with 2 wefts from a couple of packs, this type of clipping is also useful when adding more length to much shorter hair.
Tips on buying clip-in hair weft/weave pieces:
It can be quite confusing when buying a hair piece for the first time as there is usually so much hair to choose from when you go into a shop that just sells hair. Here is some of the advice that I regularly give to my bridal clients when they go to get their hair pieces, hopefully this will also help to guide you in the right direction if you are planning to buy a clip-in hair piece for the first time.
When choosing the length of hair bear in mind if you are adding extra length or just a little thickness, usually for hair just below the shoulders 16 inches will add thickness and a little length, for hair that’s nearly mid way down the back then 18 inches is usually suitable and is the length that I use for most of my brides. If your hair is very long then 20 inches should be sufficient, work with your hair length so the hair pieces are not too long eg. 8 inches or more longer than your own is probably too long (2-4 inches longer looks more natural). There are ways to blend in the hair if you are looking for a lot more length and your hair is naturally quite short but I tend to find it starts to become more noticeable – which some people don’t mind (or maybe it’s just my trained eye that can always notice extra long extensions). If you want to wear extra long extensions then try to blend the hair pieces in with your own so you don’t see short hair and then suddenly long hair, you can do this by getting your hair dresser to cut some layers into your hair piece so your naturally shorter hair looks like it’s part of the layers, or pin back the front sections of your natural hair that’s around your face so there is less shorter hair that’s down which will help to blend both of the hair lengths together more.
Be aware when buying the hair pieces that some of the cheaper packs contain only 2 or 3 pieces, a full head is 8-10 pre cut pieces of different widths – unless you know you only want a couple of pieces buy a full pack. There is also different quality hair for different prices so that’s up to you what you want to buy, longer hair will cost more but the main thing to bear in mind when comparing 2 similar packs of hair is the weight, some are cheaper because they have less hair stitched into the weave. You can also buy weft/weave pieces that are not pre cut or have clips attached, they sell the clips separately and you can cut the hair and stitch these on yourself. You do get more hair at a cheaper price if you buy the hair this way but you will need to cut the hair and stitch the clips on before the day of event because it can be more time consuming than you think.
Choose a hair colour that’s a close match to your own, or go one shade lighter to create subtle highlights. The pieces will be layered in between your own hair in almost the same way as when your hair is highlighted – in sections, half of your hair is then place on top of this which blends both of the hair colours together. Another way to blend in colour is to add curls so the hair is twisting and turning into each other.
Choosing real human hair over synthetic hair is worth the extra investment because you are limited to what you can do with synthetic hair and it won’t last you very long before it starts to get knotty and look very tatty. You can’t use heated appliances on synthetic hair such as tongs or straighteners as it will melt, even synthetic hair that states that you can heat treat it up to a certain degree will not hold a curl when you try to tong it. If you are looking for hair that you are planning to wear straight and want it more for just a few occasions then synthetic hair would be fine. Paying a bit more for real human hair means you can curl, straighten, wash and dry it and brush the hair back to its silky smooth state (synthetic hair stays in knots after a few uses and cant be washed as it will just make it even knottier). Real hair will last you for many years and when you learn to attach the wefts yourself you will hopefully get many more uses out of it than just the wedding day.


